Get started in three steps
Connect your accounts, set your preferences, and activate your Intelligent Inbox.Step 1: Connect your Google and Outlook accounts
Connect your primary email account The email account (either Google or Outlook) that you use to subscribe to Flow on Stripe becomes your primary. We recommend that you use your personal Google or Outlook account as your primary, so that if you change jobs, it’s easy to disconnect your old work email and connect your new work email as a secondary account. You only pay for your primary account and can have as many secondary accounts as you’d like at no additional cost. Connect your secondary email accounts To add secondary accounts, go to the Settings (gear icon on the bottom left) > General > Linked Accounts. Click the ”+ Link account” button and follow the Google or Outlook authentication.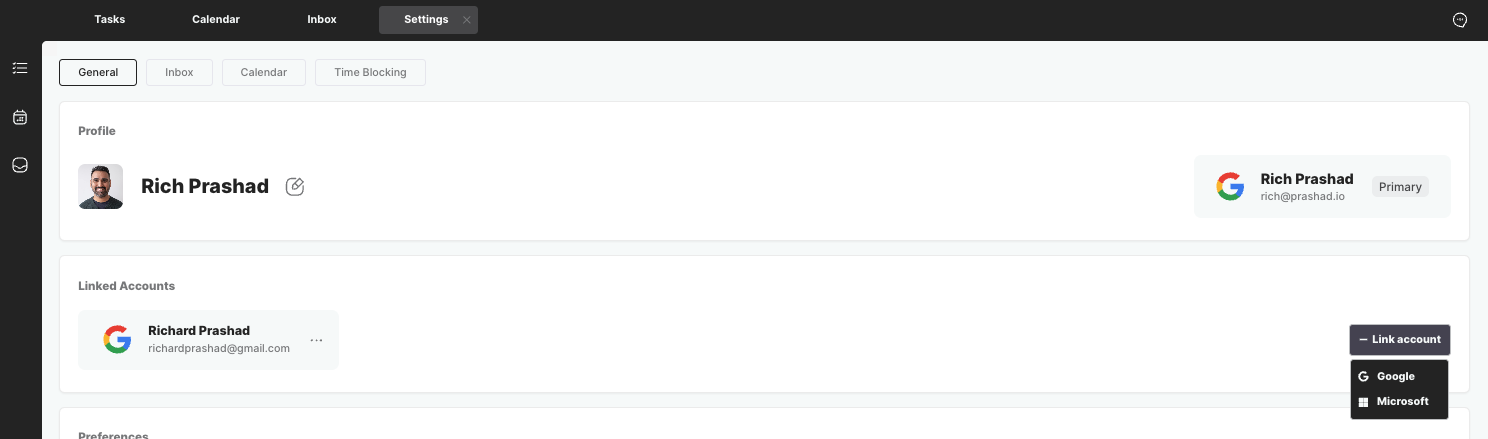
Step 2: Set your preferences
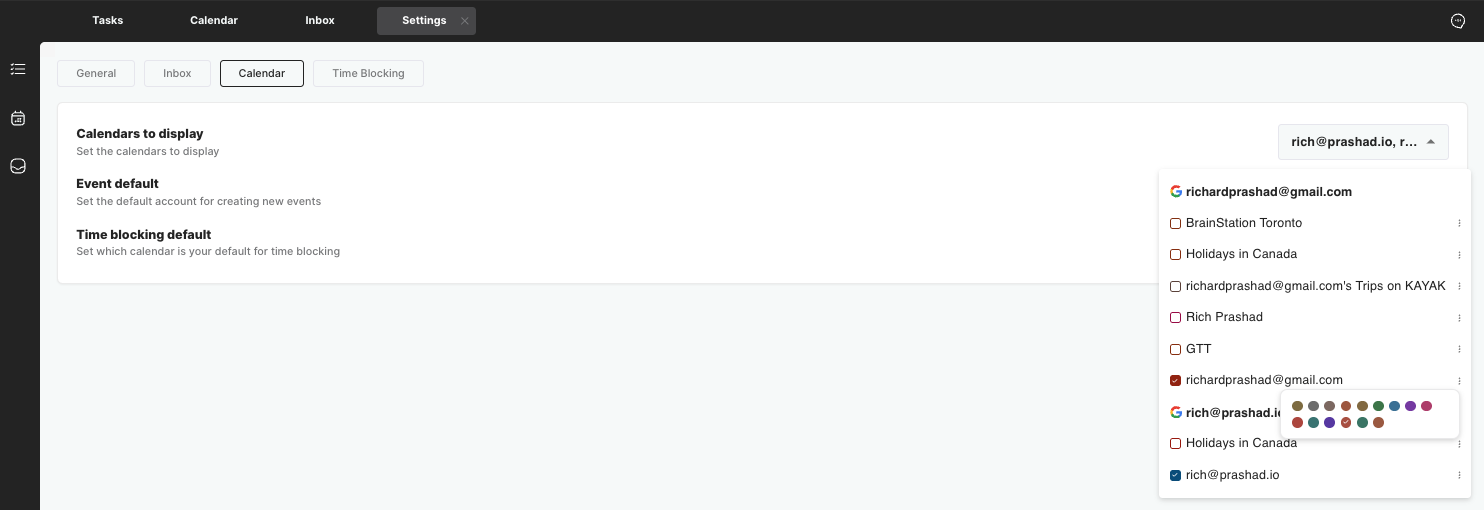
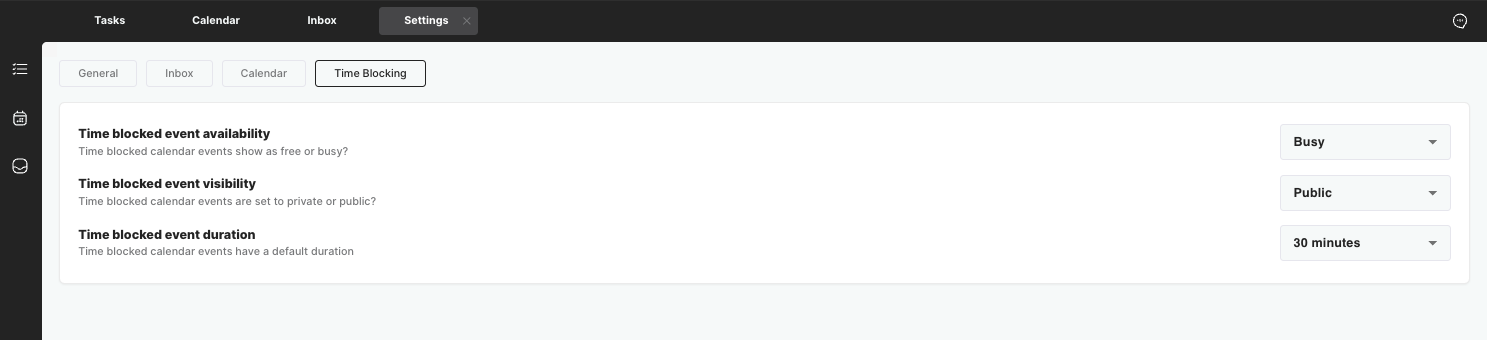
Set your Inbox preferences Go to Settings > Inbox and select the inboxes you want to display in the Inbox module. Also, set your default for composing new emails.
Step 3: Turn on your Intelligent Inbox
Go back to Settings > Inbox and go down to the section called Intelligent Inbox. Intelligent Inbox is a feature that uses AI to label your emails, filter them based on priority, and enables the Briefings feature, allowing you to bulk process your emails. By default, Intelligent Inbox is disabled, so you can individually select which accounts to enable it for.


Although the Briefing Schedule provides email reminders a few times a day, the actual Briefing view always displays new emails in real-time.
This means that, between reminders, you can always see and take action on all your new emails without waiting for the next reminder.
This means that, between reminders, you can always see and take action on all your new emails without waiting for the next reminder.
Next steps
Now that Flow is connected to your accounts and your preferences are set, explore these key features in more detail:Intelligent Inbox
Enabling auto-labelling, briefings, and managing your inbox preferences.
Daily Planner
Setting your preferences for time-blocking, calendar, and automations.
Executive Assistant
Setting your preferences for your knowledge base and automations.
You can email us anytime at hello@enterflow.co with questions.